

9to5Mac Security Bite is offered exclusively by: Mosyle, the only Apple integration platform. We’re all about making Apple devices ready to use and secure for enterprise use. Our unique, integrated approach to management and security combines cutting-edge Apple-specific security solutions for fully automated enforcement and compliance, next-generation EDR, AI-powered Zero Trust, and exclusive privilege management with the most powerful and modern Apple MDM on the market. The result is the fully automated Apple Unified Platform, now trusted by more than 45,000 organizations and enabling millions of Apple devices to be effortlessly and affordably ready to use. Request an extended trial Find out why Mosyle is all about working with Apple today.
Let’s say you have a screenshot of sensitive information on your desktop that you want to password protect. We know that clear images of tax, banking, wire transfer forms, etc. can be easily viewed by anyone with physical or remote access to the machine, but we don’t know how to secure them. Unfortunately, macOS Preview doesn’t support file-level password protection, but there’s a simple workaround that doesn’t require you to use third-party software or download anything that isn’t already installed on your Mac.
Method 1: Overkill using DiskUtility
This first method can be a bit overkill if you want to protect a few graphics files. This includes creating an encrypted virtual disk using DiskUtility. To do this, collect your screenshots (documents that are too even) and place them in a folder. I’ll head over here after this. finder > application > disk utility. In Disk Utility, navigate to: file > new image > image Click (From Folder) and select the location of the folder you want to encrypt.
From here, you can title your virtual disk (via a DMG file) and choose its location, encryption level (up to AES-256 encryption), and image format. In the latter case, we recommend choosing read/write. This will allow you to add or remove files later. Compress, selected by default, compresses the content to save space, but is read-only. You have successfully created an encrypted DMG file with all your private content. The disadvantage of this method is that you have to mount and unmount the virtual disk each time.
No need to worry. There is also another solution that requires fewer clicks and can be completed in seconds…
Method 2: Use preview easily
Enter preview. Yes, the beloved built-in macOS image viewer that we all know and love. When you convert a graphic file to PDF, you unlock a handy password feature built into the settings that converts your images into encrypted, password-protected PDFs. This only takes a few seconds.
Below is a screenshot of the important tax information we use to estimate your quarterly taxes. But you don’t want to leave information hidden on your desktop. Even the preview icon reveals sensitive information.
Sure, you could try the old trick of security through obscurity here and give the file a completely unrelated name like: cookrecipe.pngbut as it turns out, it’s still not safe. Why take the risk? After all, threat actors are deploying new AI techniques. It’s only a matter of time before you use this to sift through files regardless of name.
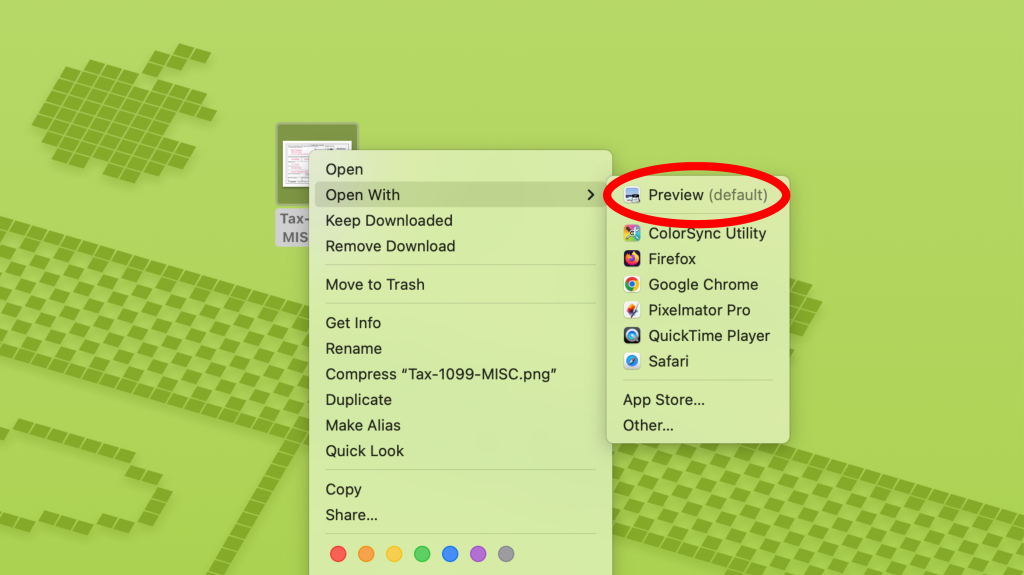
1. Right click and open in preview
Right-click the image you want to password protect, hover your mouse over “Open with” and select “Preview.” Preview is probably already your default, so a double-click will open Apple’s trusty image viewer. Now, moving on…
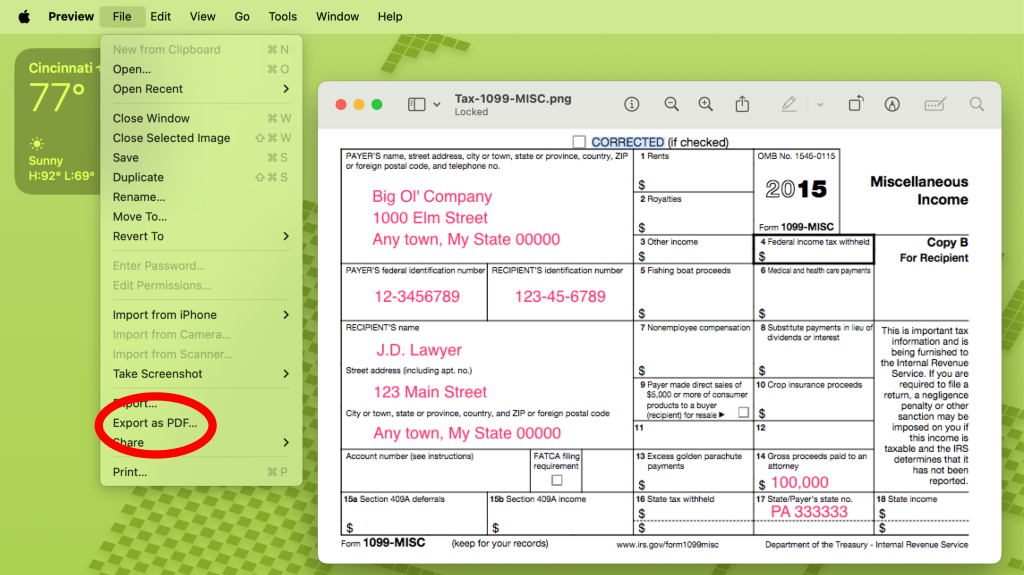
2. Export your graphic file as PDF
Then move on to the next file > Export as PDF.
Then name the file, choose a location on your machine, and Learn more > authority Provides more options, such as adding passwords to files.

3. Apply a password to the PDF file…Done!
check of “A password is required to open the document” Enter your password in the box. Even if you don’t plan on sharing the file, this screen prompts you for the owner password and does not check permissions. You can enter the same password here.
Click “Apply” and “Save” and the new encrypted PDF will appear in the save location.

that’s it! Now you can delete unprotected files and empty the trash.

Now, the next time you click the newly created PDF to view its contents, you will be prompted for the password.
Unlike DiskUtility, which uses AES-256 bit encryption, Preview uses AES-128 when encrypting password-protected PDFs. This doesn’t necessarily mean your files are any less secure here. Although AES-128 produces a 128-bit key size, it still provides a huge number of possible key combinations, making brute force attempts nearly impossible. Unless you’re hiding highly sought-after government secrets, it’s good enough encryption for common threats.
Overall, this method may seem a little long at first, but after a few runs, you’ll be able to create locked PDFs of sensitive images in seconds. enjoy.

Security Bite is 9to5Mac’s weekly show that takes a deep dive into the world of Apple security. Every week, Alyn Waichulis uncovers new threats, privacy concerns, vulnerabilities, and more in an ecosystem of more than 2 billion devices.
Fforget it: Twitter/XLinkedIn, Thread
![]()
![]()


